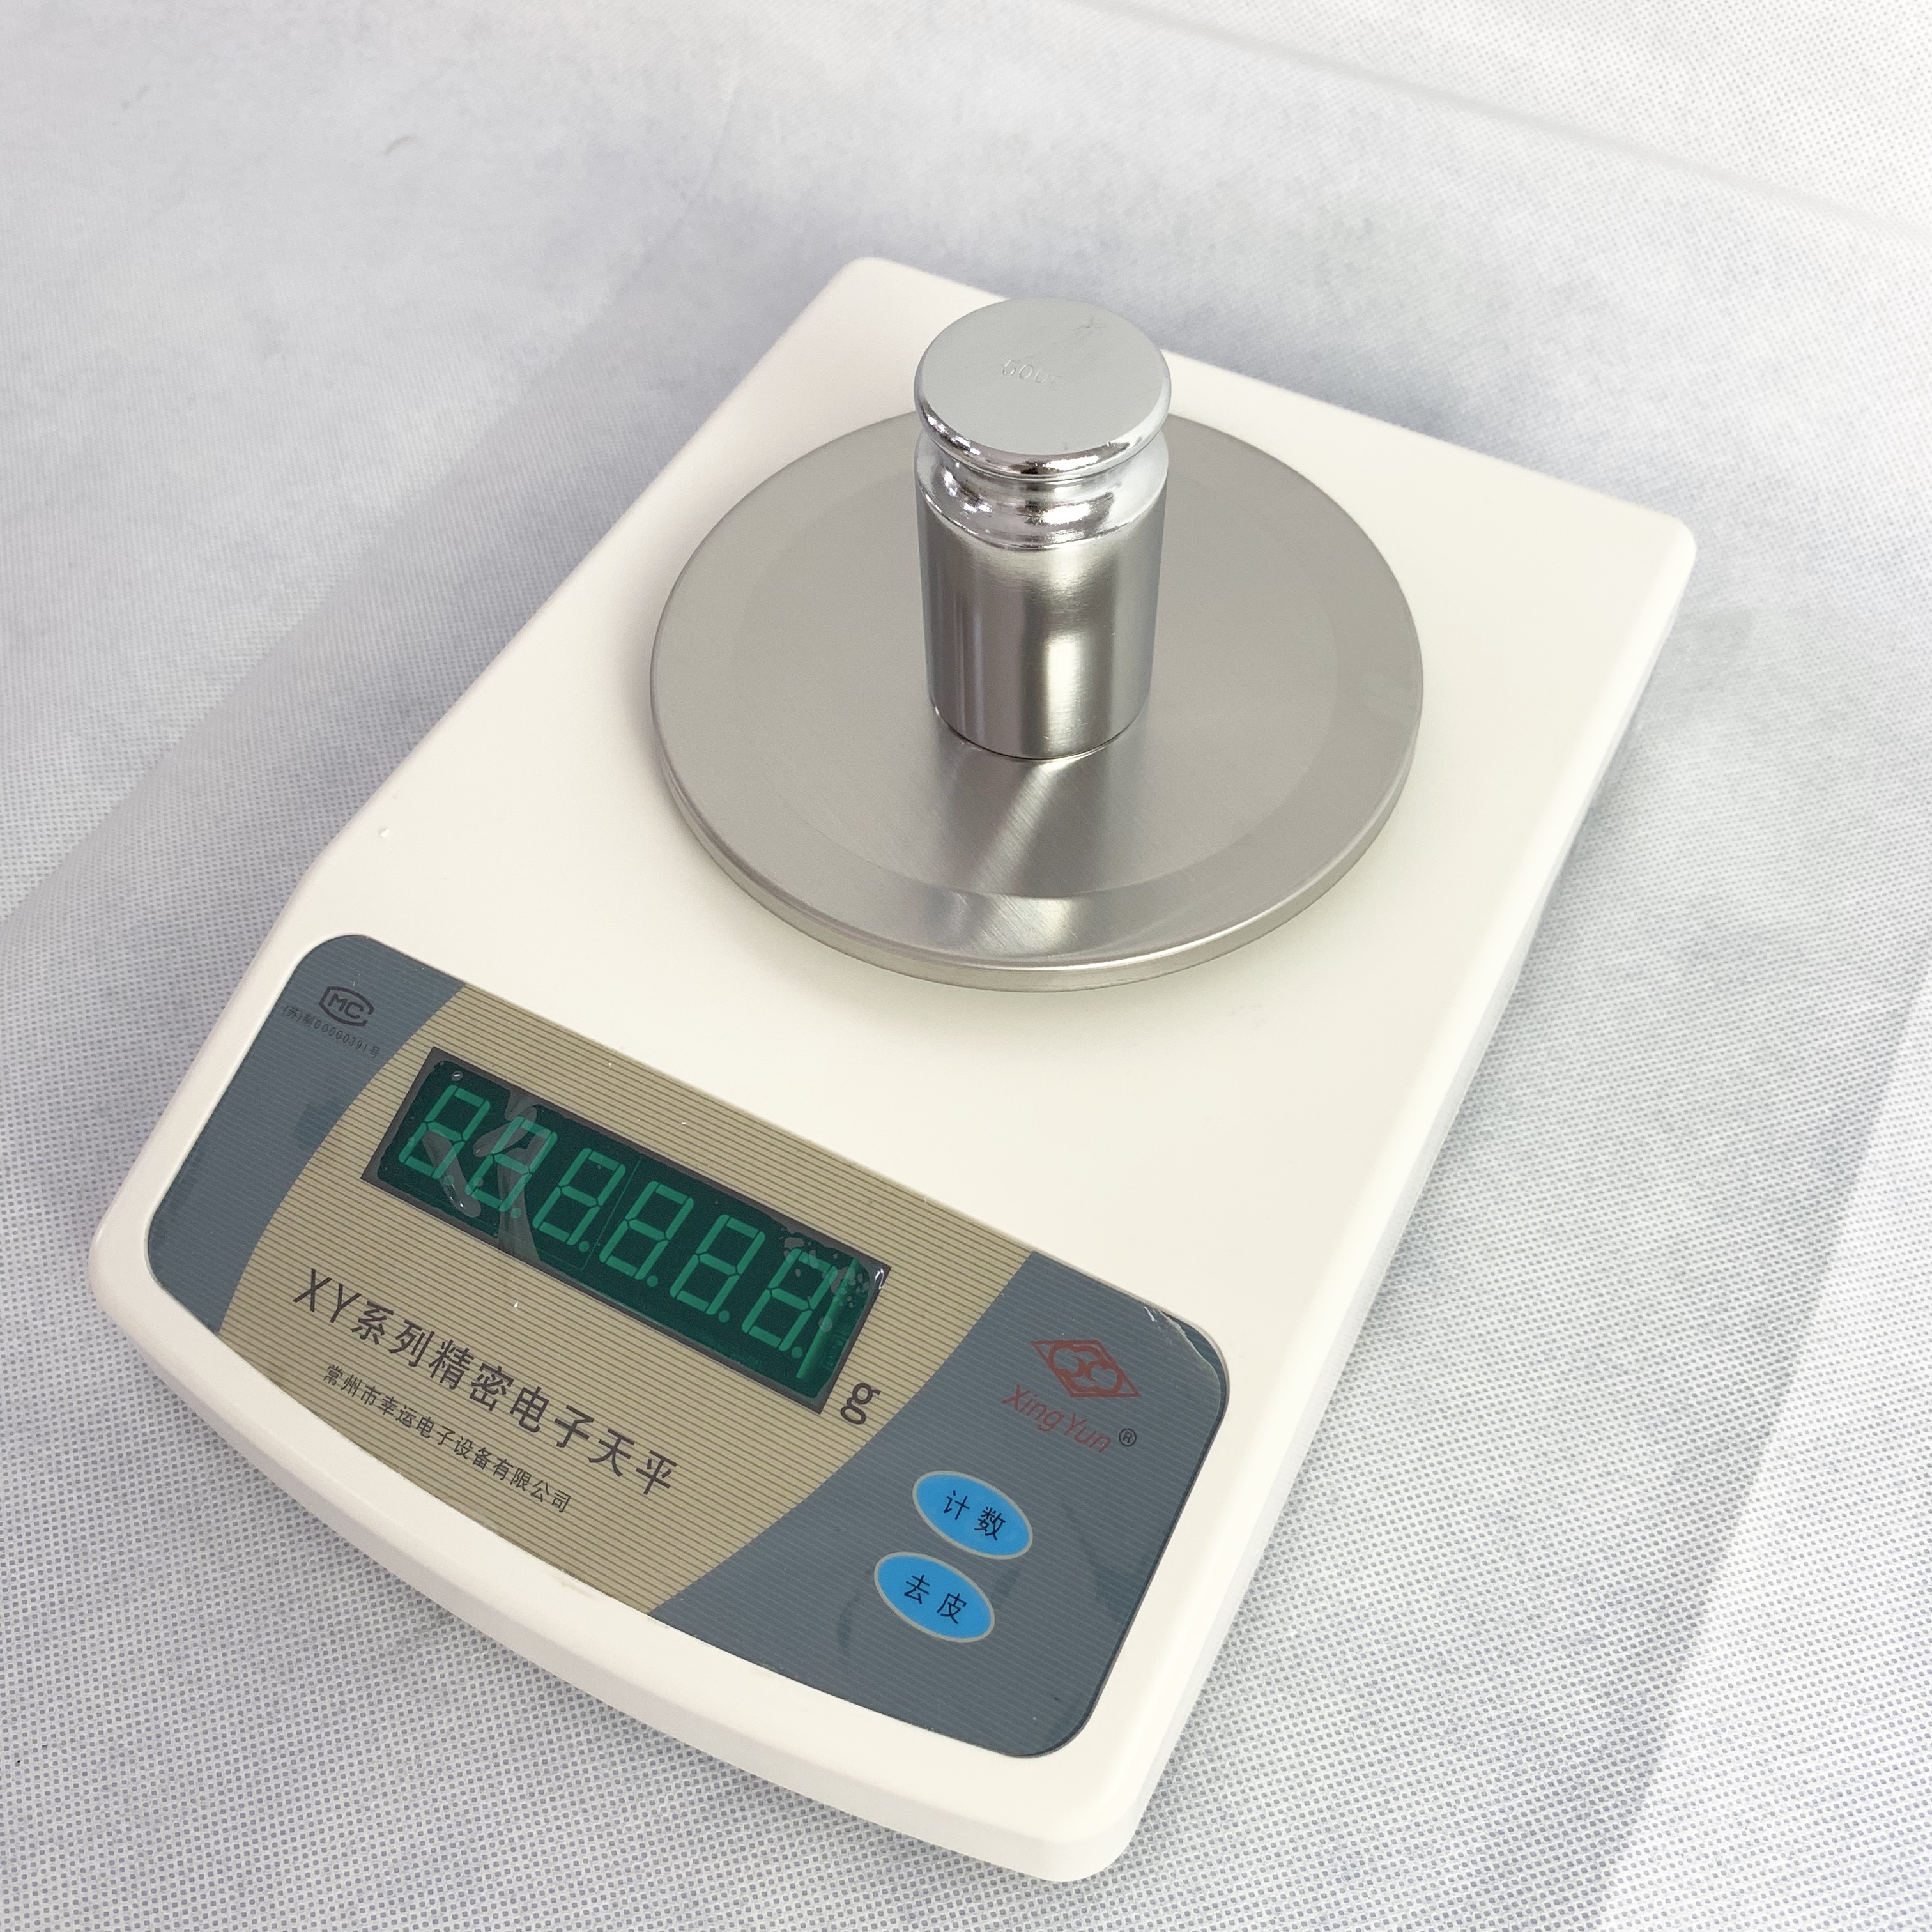


LED display
Random with 500g weight.
The largest weighing 500g. Accuracy 10mg.
Operational use
A. Power
1. First balance to turn off the power switch on the back end (down by it), the power cord into 220V / 50HZ.
2. Open the rear power switch balances the host, show "8.8.8.8.8.8.", "Full weight value", "------" displayed after weighing scales mode "0" or "0.0" or "0.00." Before weighing the need preheat for 10 to 30 minutes.
B. Weigh
1. In the warm-up is stable, the balance weighing mode display "0" or "0.0" or "0.00."
2. It will be referred to was placed on the pan and read the weight value from the display window.
3. Flashing decimal point indicates that the sensor has not been stable, indicates that the sensor does not flash when the work has been stable, accurate sense of the amount of weighing.
C. Peeling
1. To be called in the container was weighed, the tare weight of the container is removed from the total weight on the pan.
2. The empty container on the weighing pan, press Tare / Cal key back to zero, that is peeled.
D. Calibration (Full Range of measurement can be calibrated or three-point calibration methods.)
1. Full Range of measurement Calibration
①. Under no object on the pan condition, hold Tare / Cal key pressed until the - the word "CAL-", release the button.
②. Display "-CAL-" Later, the balance weight value flashes.
③. Placing equal weight on the pan, display "------" wait state, later displayed weight value.
④. Remove the weights, display "------" wait state, return later to zero, end of the verification.
If there is error checking, repeated several times over the full Range of measurement calibration method
2. Three-point calibration
Turn off the power switch on the back-end balance, hold Tare / Cal key, turn on the power switch until "--CAL-" character, release the button, enter the three-point calibration. Three-point calibration required three weights, each step as long as the weight value will flash different weights can be placed on the pan, step See full Range of measurement calibration ②. ③. ④. Article.
If there is error checking, repeated several times Full Range of measurement calibration methods.
Note: The first accurate measurement, perform three-point calibration.